

There’s a little bit of a background to these cookies. STORY ALERT!

I very recently bought myself an OTG 😀 This has been long overdue. All these days, because I didn’t have an oven, every recipe that called for baking was tweaked to suit the pressure cooker. Although I have accomplished good results with this method, it is quite limiting. The pressure cooker is not designed for baking, after all, and the space inside does not offer you much of a leeway for baking a variety of dishes. So although I was baking on and off with the pressure cooker, it wasn’t completely satisfying. So I made lists of all the recipes I wanted to try when I got my own oven.

So, ever since I’ve dreamt of having an oven, I’ve been making lists. I’m a lists person. I compulsively make lists for everything. You will find lists on my mobile phone, my laptop, my notebook, and even occasionally on the wall (I’ve stopped now). What can I say, it helps me stay organized *shrug*. These Jam Thumbprint cookies were one of the first things I put on my list, under the ‘easy but tasty cookies’ category. I used to see people make these on blog posts, video and TV, and make notes. I’m still getting to know my oven, so I’m taking it slow, with straightforward recipes. So, after trying the delicious but easy khara biscuit, I naturally gravitated towards these 😀

This recipe is definitely straightforward and calls for limited ingredients – and tastes amazing! Delicious dollops of jam over crisp cookies. How can you go wrong with that combination?! *drool* Added bonus is that these cookies use mostly whole wheat, and very little all purpose flour. You can completely replace the all purpose flour with atta, and obtain the same result, with a slight difference in colour and texture. Recipe adapted from the lovely blog SharmisPassions!
Ingredients
- 3/4 cup whole wheat flour
- 1/4 cup all purpose flour
- 1/2 tsp vanilla essence
- 1.5 cups granulated sugar/powdered sugar
- Milk – 3/4 tbsp
- Unsalted Butter – 75 g (softened, at room temperature)
- Salt – 1/8 tsp
Method
The cookie dough
- Cream together the softened butter, sugar and vanilla essence using a whisk until creamy.
- Combine both flours and salt, mix well to evenly distribute the salt.


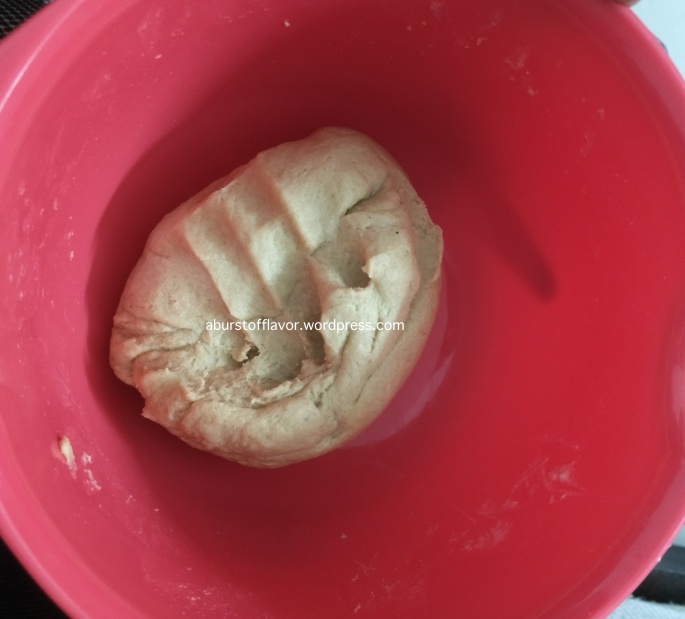
Add the flour mixture to the creamed butter and mix well with your hands (the texture of the dough will resemble coarse crumbs). Now add milk little by little, and mix well to form a smooth dough. Do not over-knead the mixture. You just need to mix until until comes together in a ball.
Shaping the cookies
- Line a baking tray with parchment/greaseproof baking paper and set aside.
- Now measure out the dough using a 1/2 tbsp measuring spoon.
- Roll into a ball in your palm & flatten into a disc using your fingers. Use the 1/4 tsp measuring spoon to make a dent in the middle of the disc. You can also make the dent with your thumb, of course.

Transfer cookie to baking tray. Leave enough space between the cookies.
 Repeat the process to finish the entire dough. (This measurement of dough will give you about 20-21 cookies).
Baking
- Pre-heat the oven in toast/convection mode at 200 deg C for 10 minutes.
- Transfer the baking tray into the oven, and bake at 180 deg C for 10 minutes.
- After 10 minutes, take the cookies out of the oven. You will see that the cookies are half cooked, and pale in colour. They tend to slightly puff up during baking, so the dents might have levelled.
- Take your 1/4 tsp measuring spoon, and carefully dent the cookies again. You need to be quick with this, as the cookies will remain soft and pliable only when hot/warm, and they will harden if they cool.
- Put the baking tray back in the oven and bake for another 5-7 minutes at 200 deg C.
 Once cookies are pale golden, they are done. You can wait for 5 minutes for the cookies to cool, flip one cookie and check if bottom is golden brown. If they are, then they are done.

Filling with Jam
- Melt 3 tbsp of any jam you like, over the stovetop. Use just 1 tsp of water if required, to loosen the jam, while stirring continuously. It will take just 30 seconds.
 Keep in mind that you don’t want the jam to be runny – they will not set and will flow off the biscuits. You just want it to be easy to spoon on top of the cookies.

Spoon over the dent in the middle of the cookies, while cookies are still warm. Do not overfill cookies.
Storing
- I arranged the cookies on a plate, covered it and stored in the refrigerator overnight. This helps the jam set well, and the cookies get crisper.
- You can take them out the next day and store in an airtight container at room temperature for 3-4 days.
TIPS & TWEAKS
- No need to refrigerate the dough, as the cookies don’t spread much while baking.
- Do NOT overbake the cookies. They might appear soft or not crisp enough after baking, but let it rest overnight in the fridge, covered. It will get crisp enough the next day. If you overbake, cookies will get a hard texture.
- At the end of 10 minutes, when you’re denting the cookies again, please be very careful as baking tray and cookies will be hot. Wear oven mitts for safety!
- Use any variety of jam you would like – I find that slightly tart or bitter jams work amazingly with the sweet dough. Examples are orange marmalade, berry conserves, lemon curd etc.
- I used granulated sugar because I don’t mind the texture in the final cookies, its equally delicious. Use icing sugar if you don’t want sugar crystals in your cookie.
- Remember to skip adding salt if using salted butter.

This looks really irresistible ! Yum !!